Activate and get started
Get started with Cherry Studio Enterprise — sign up and use it in the cloud
Estimated time: 5 minutes — no deployment, sign up and go
Step 1: Register
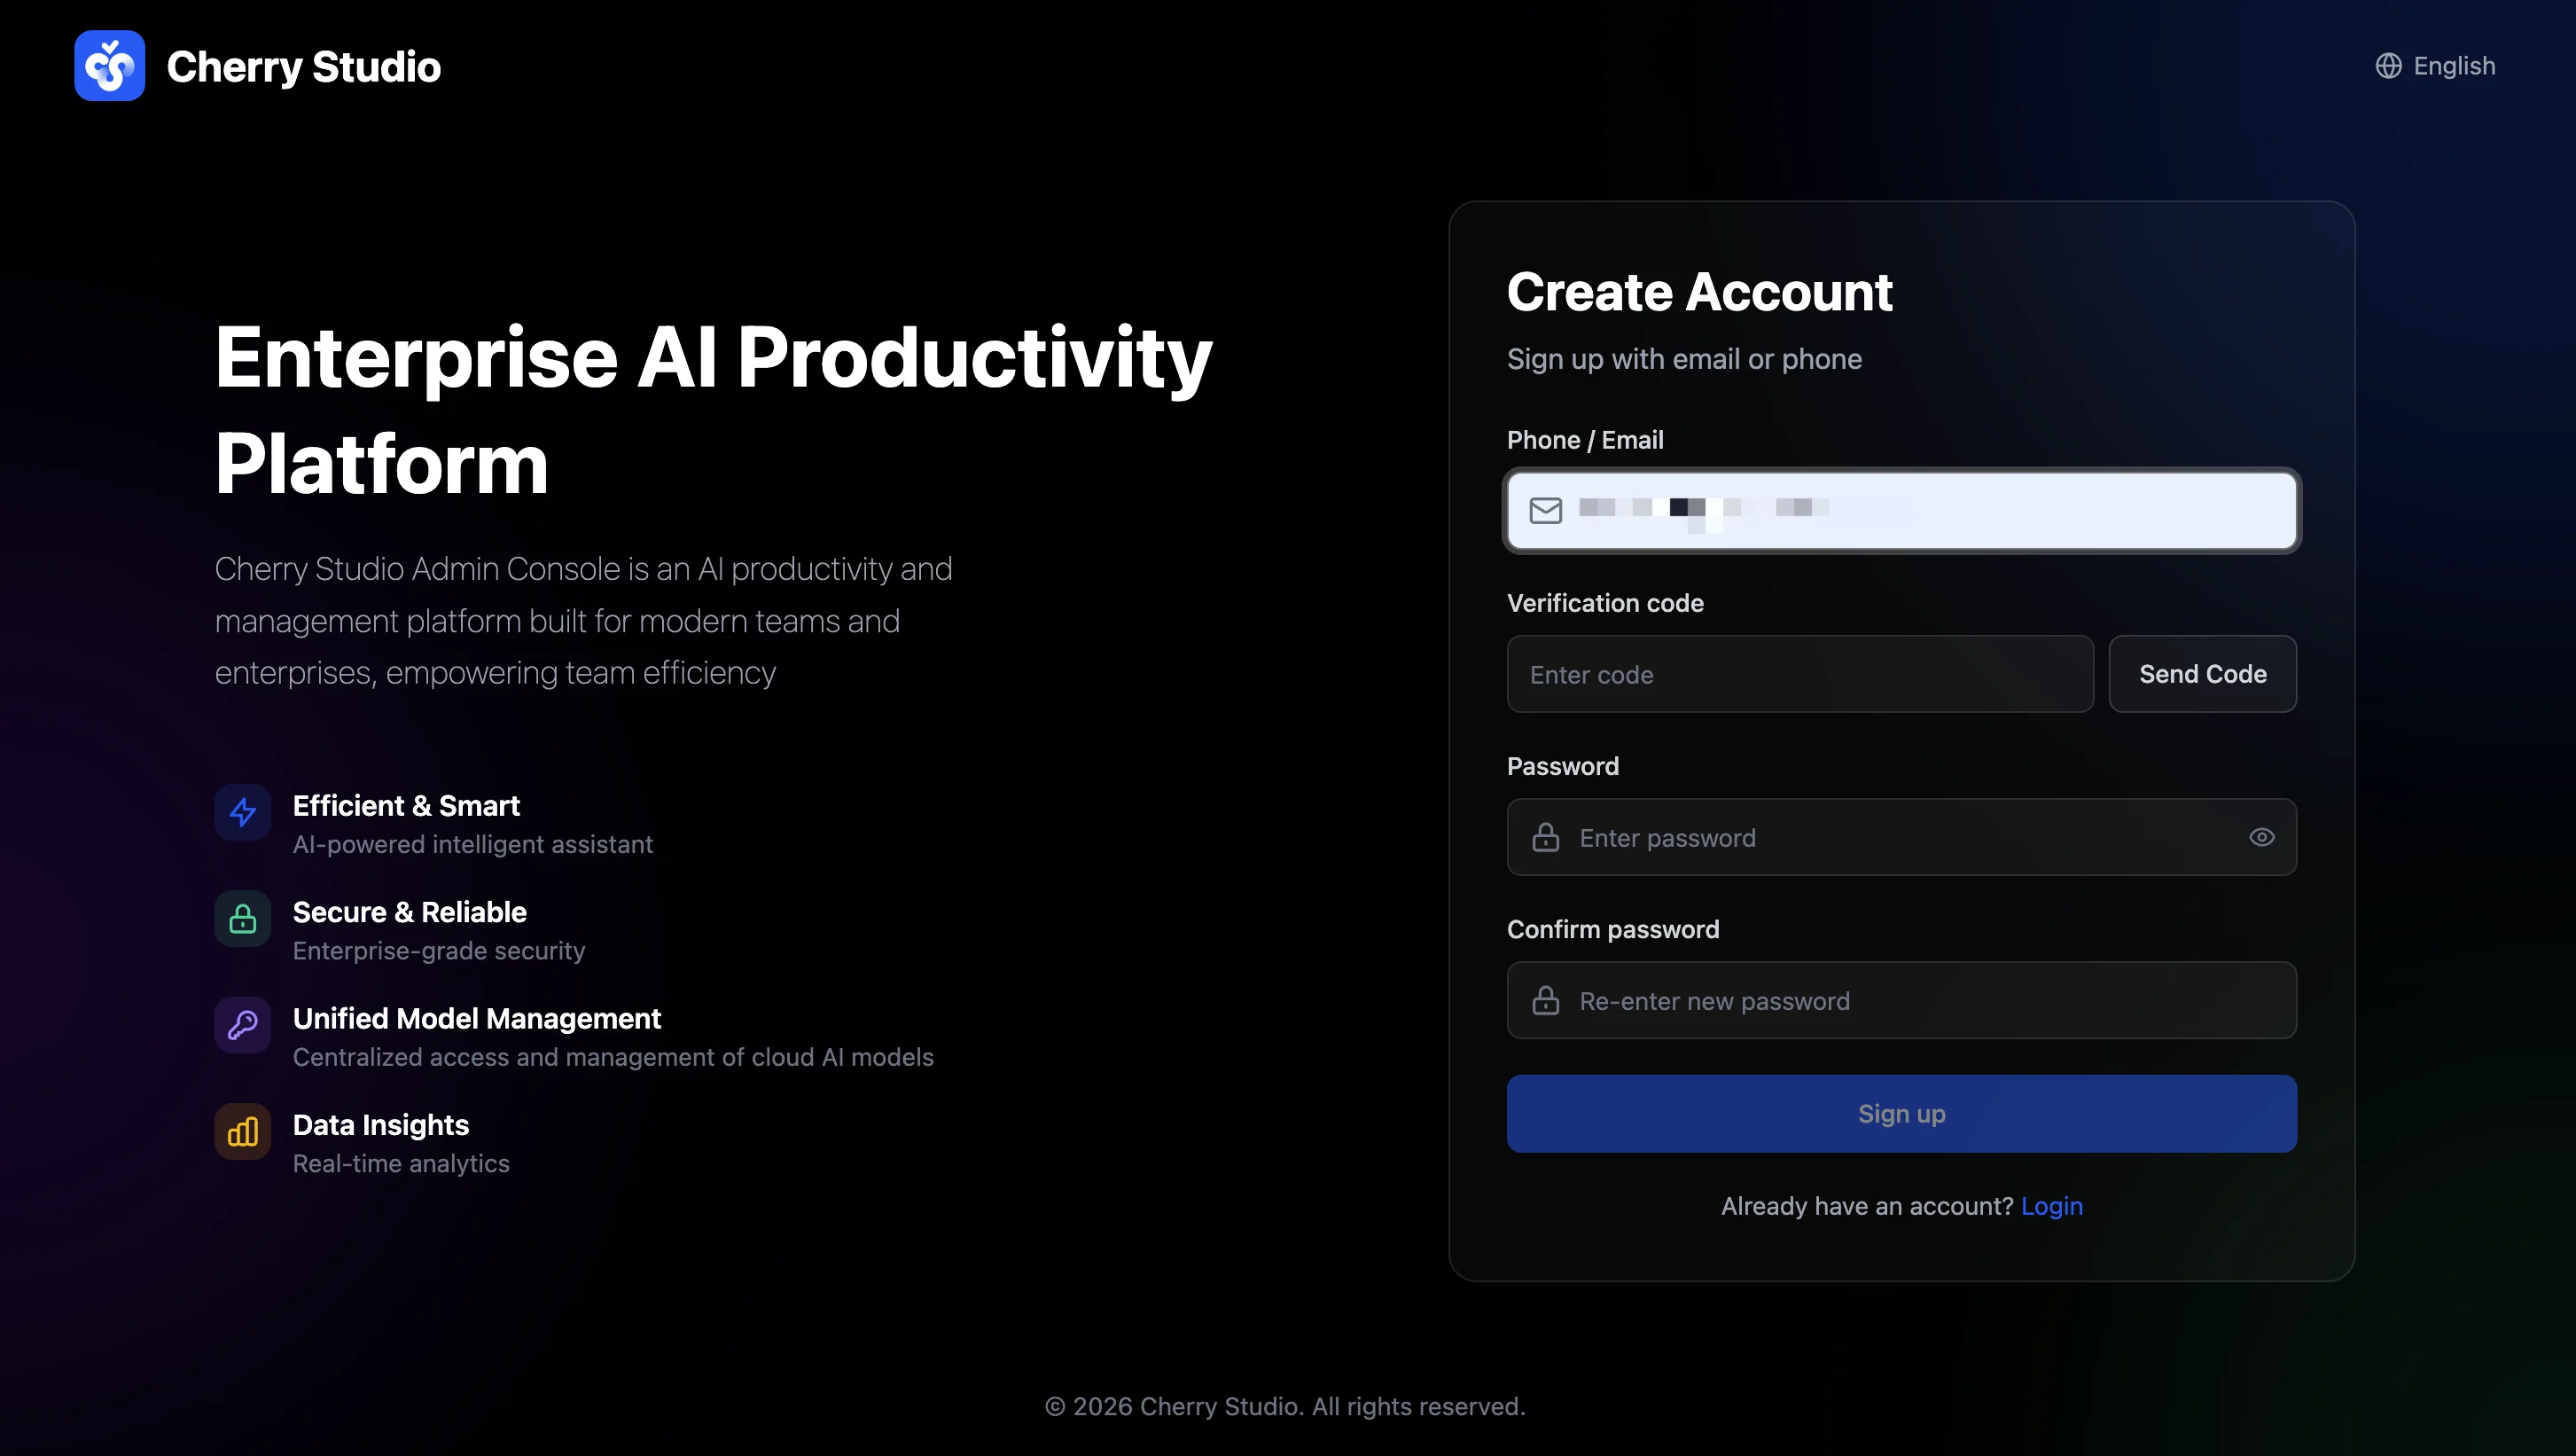
Visit the Cherry Studio Enterprise website and register your admin account using your phone number or email. Enter the verification code and set your password, then click "Sign up".
Step 2: Create an Organization
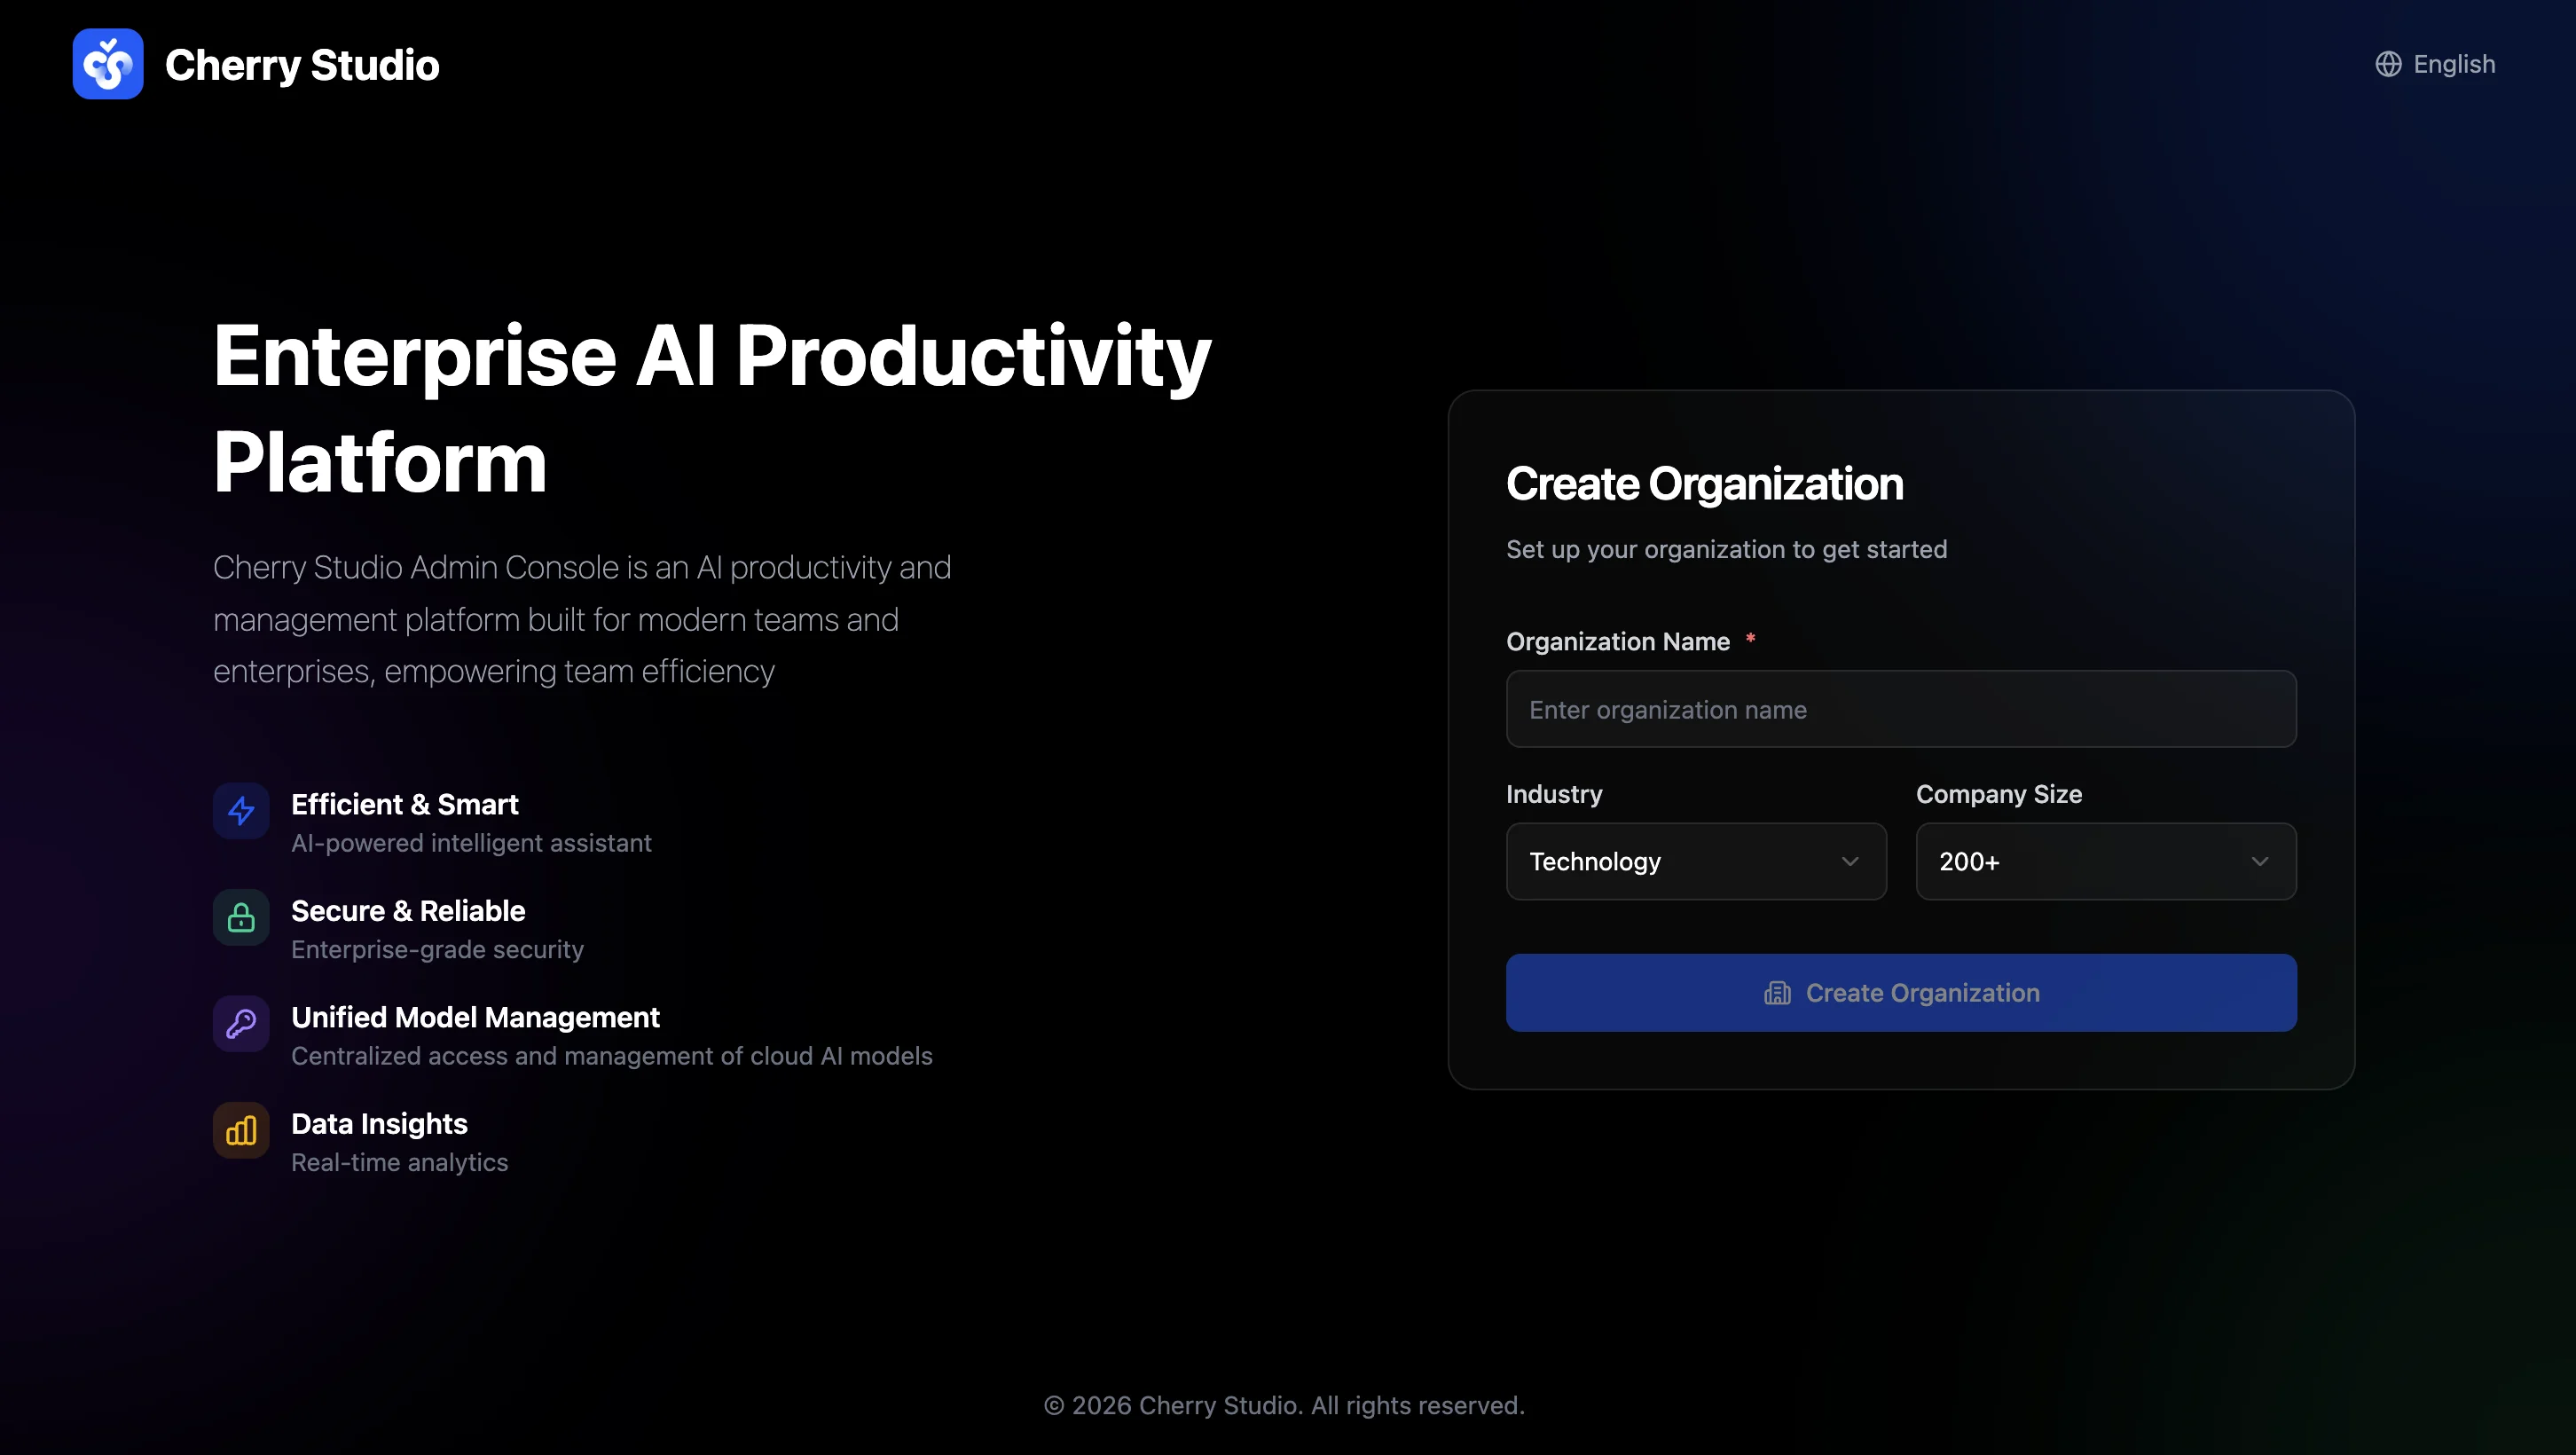
After registration, the system will guide you to create your organization. Fill in your organization name, select your industry and company size, then click "Create Organization".
Step 3: Select a Plan
Choose a subscription plan that fits your needs. Click "Activate Now" to proceed.

Step 4: Enterprise Verification
Before activation, you need to complete enterprise verification. The flow has three steps — follow the on-screen instructions:
1. Upload business license — supports JPG and PNG (max 5MB). After uploading, the system will OCR the company name, unified social credit code, and legal representative — no manual entry required.

2. Upload the legal representative's ID card — upload the front side and back side separately. The system will automatically recognize the name and ID number.

3. Submit for review — confirm all information is correct, then click "Submit for Review". Once approved, the service will be activated.

Step 5: Payment & Activation
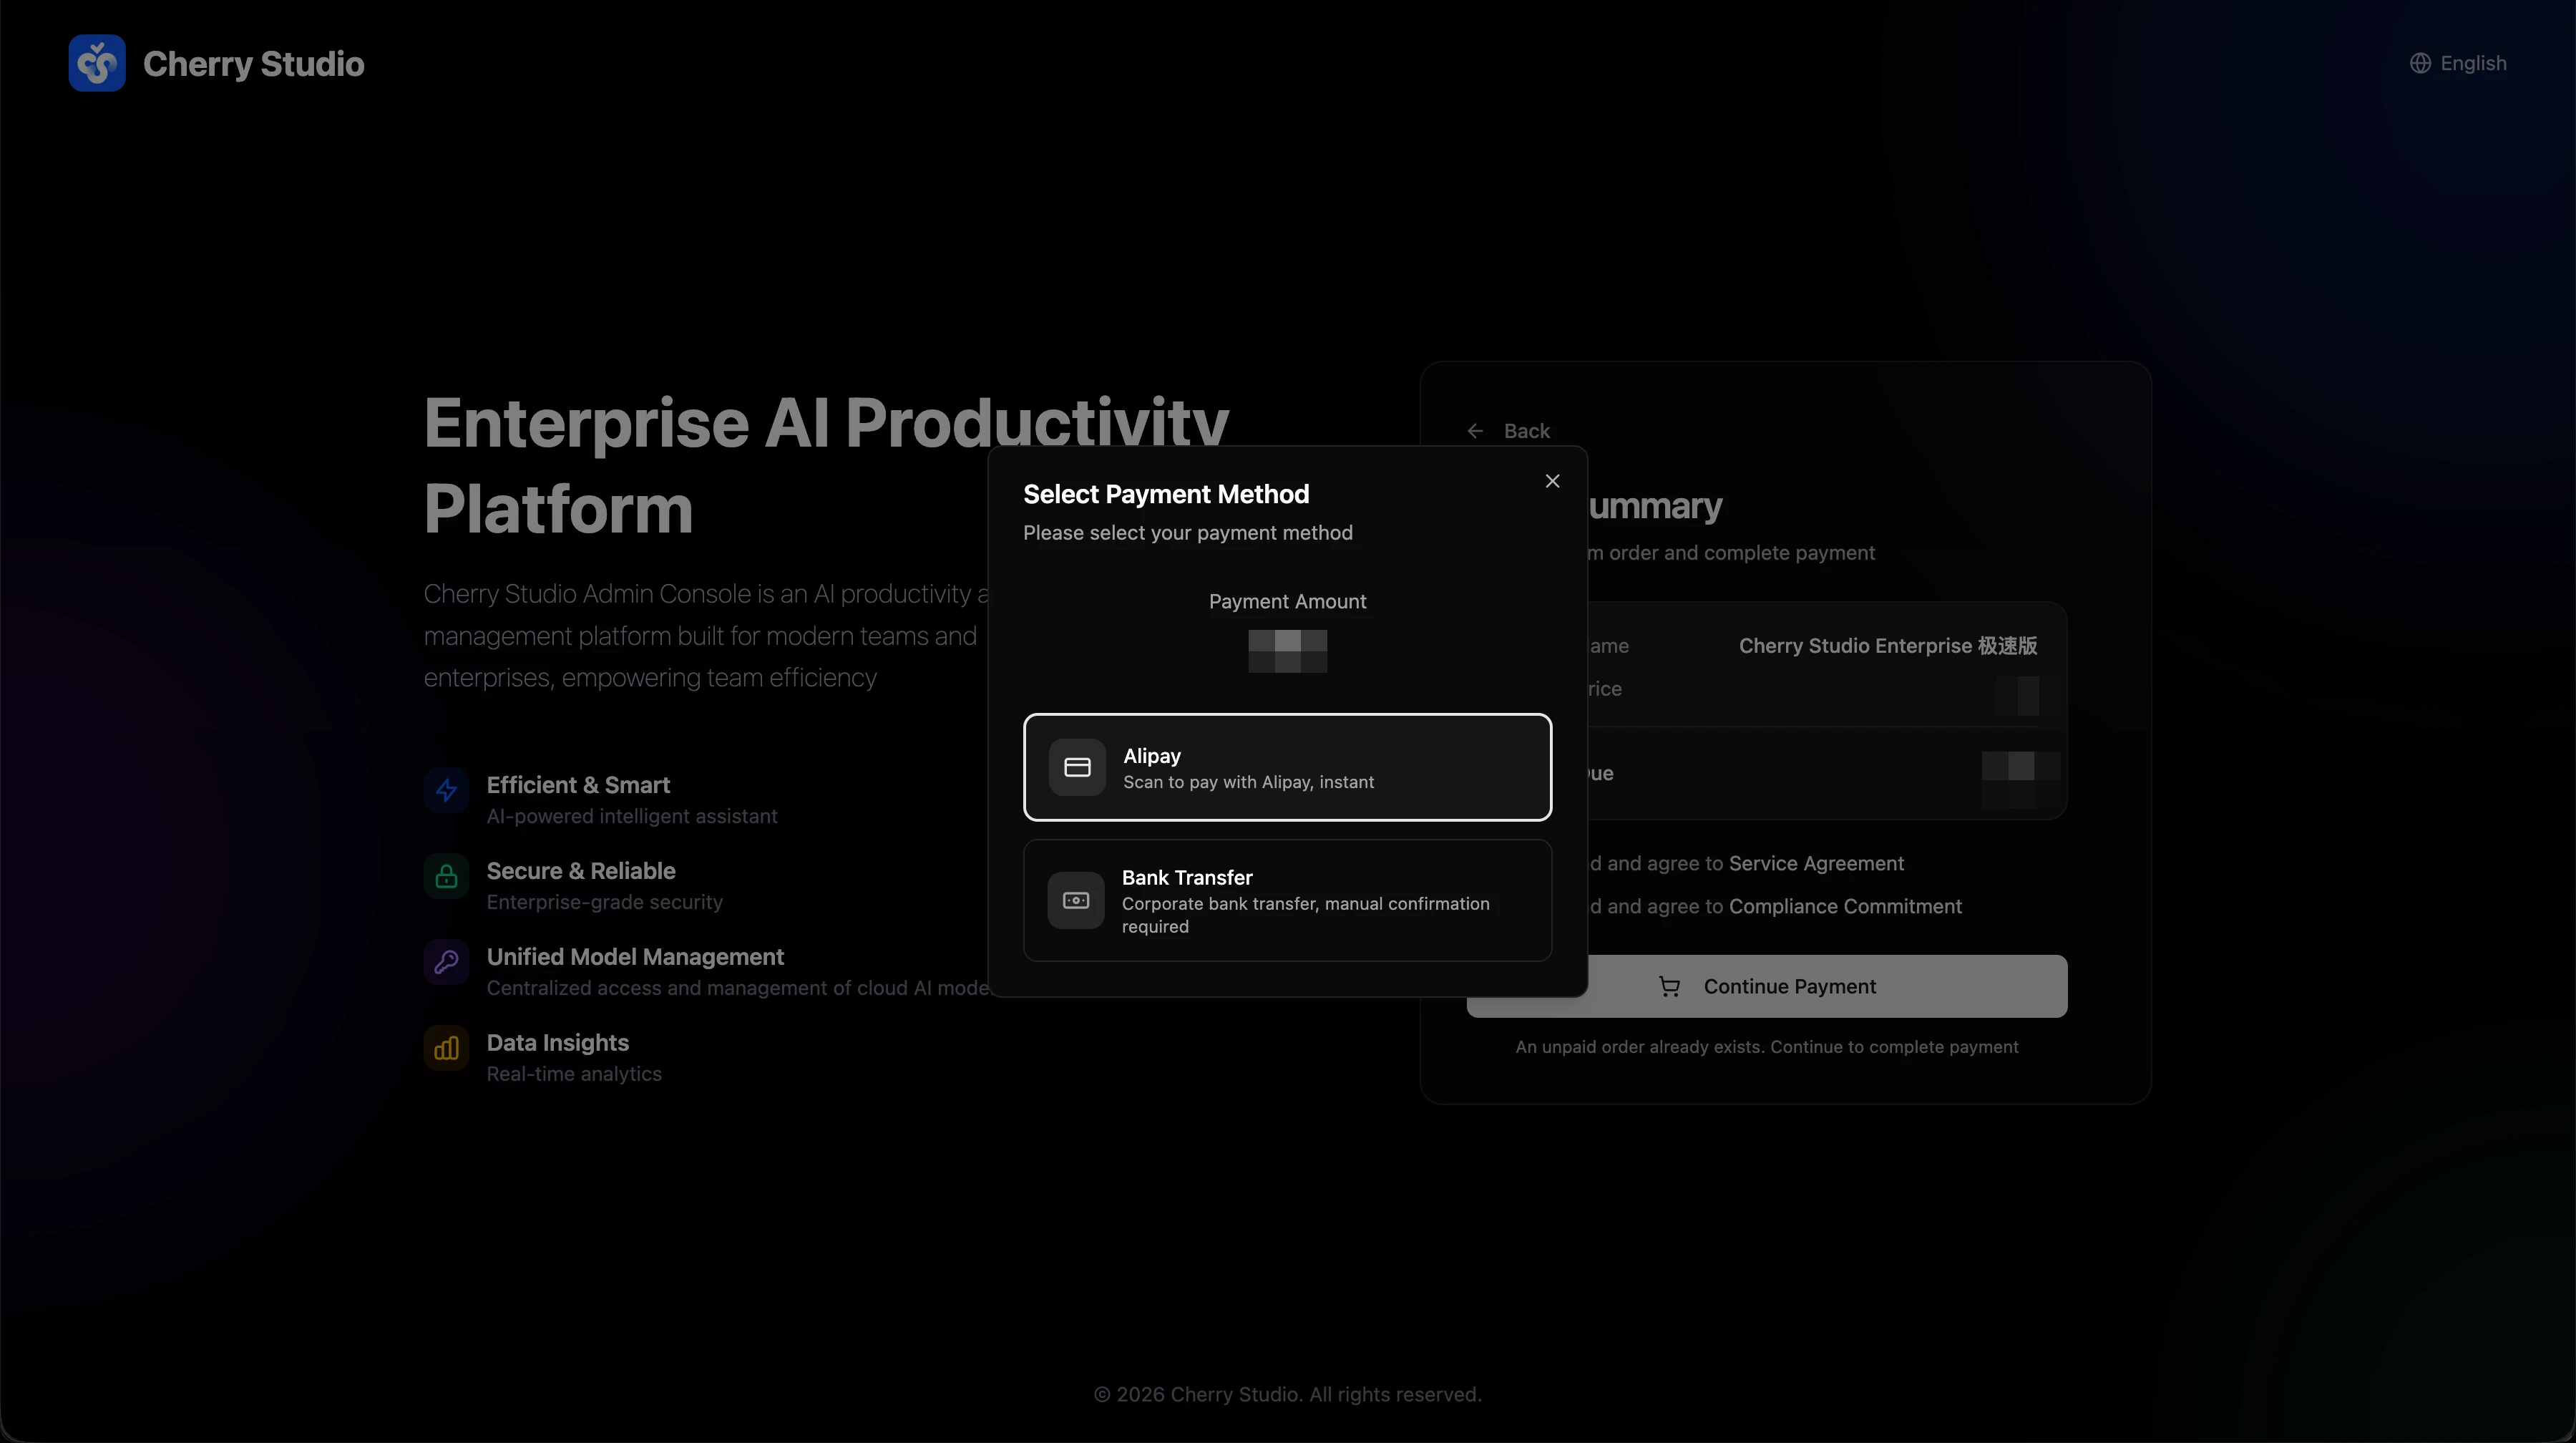
Once enterprise verification is approved, you'll be taken to the order summary page. Confirm the order details, read and check the Service Agreement and Compliance Commitment, then click "Submit Order".

Have a discount code? Enter it in the Discount code field on the order summary and click Apply. See Using a Discount Code.
In the payment method dialog that appears, choose how to pay:
- Alipay — instant scan-to-pay, suited to individuals and small teams
- Bank transfer — suited to organizations requiring invoices
After payment, the system will automatically deploy and activate the service for your organization. This usually completes within a few minutes.
Step 6: Invite Members
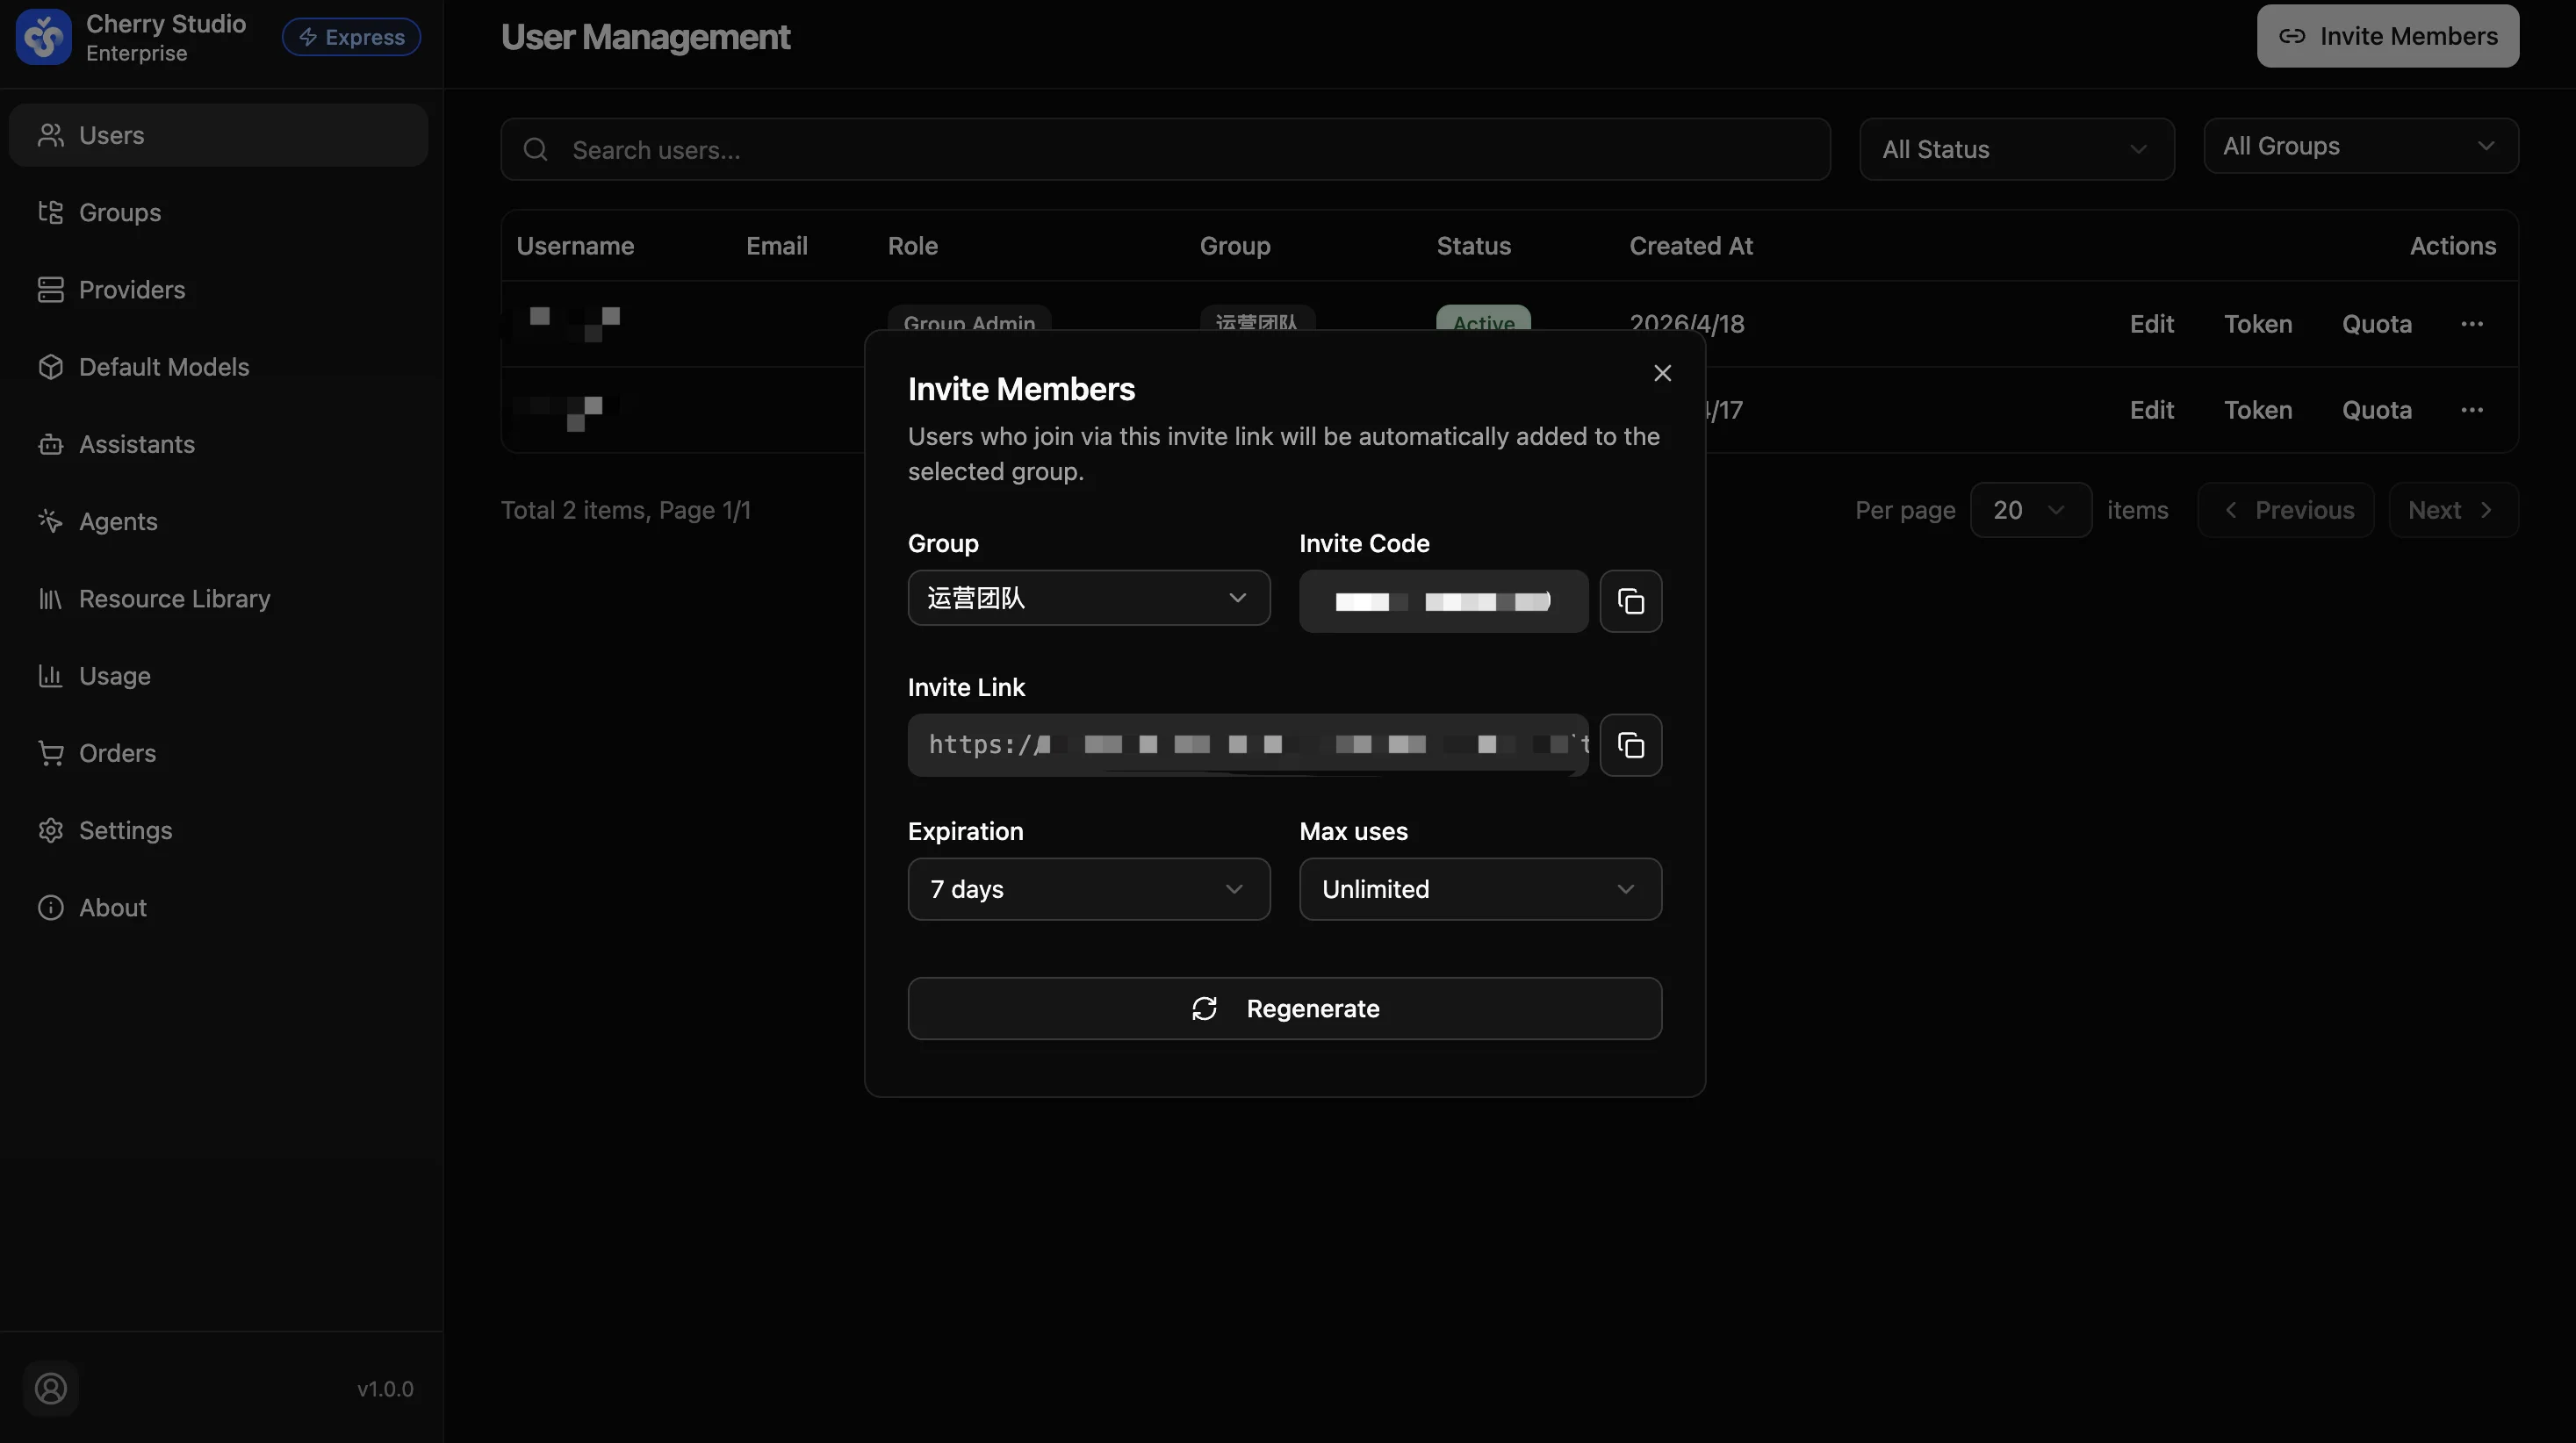
Go to "User Management" in the admin console and click "Invite Members" to generate an invite link. You can:
- Assign members to a specific group (e.g., Operations, Engineering)
- Set the invite link's expiration time and max usage count
- Share the link with your team — they click it to register and automatically join the assigned group
If you haven't created any groups yet, go to Create & Edit Groups to set them up first.
Step 7: Download the Client
Download and install the Cherry Studio Enterprise client.
Step 8: Sign In and Start Using
Sign in to the client with your registered account or the account created via an invite link.
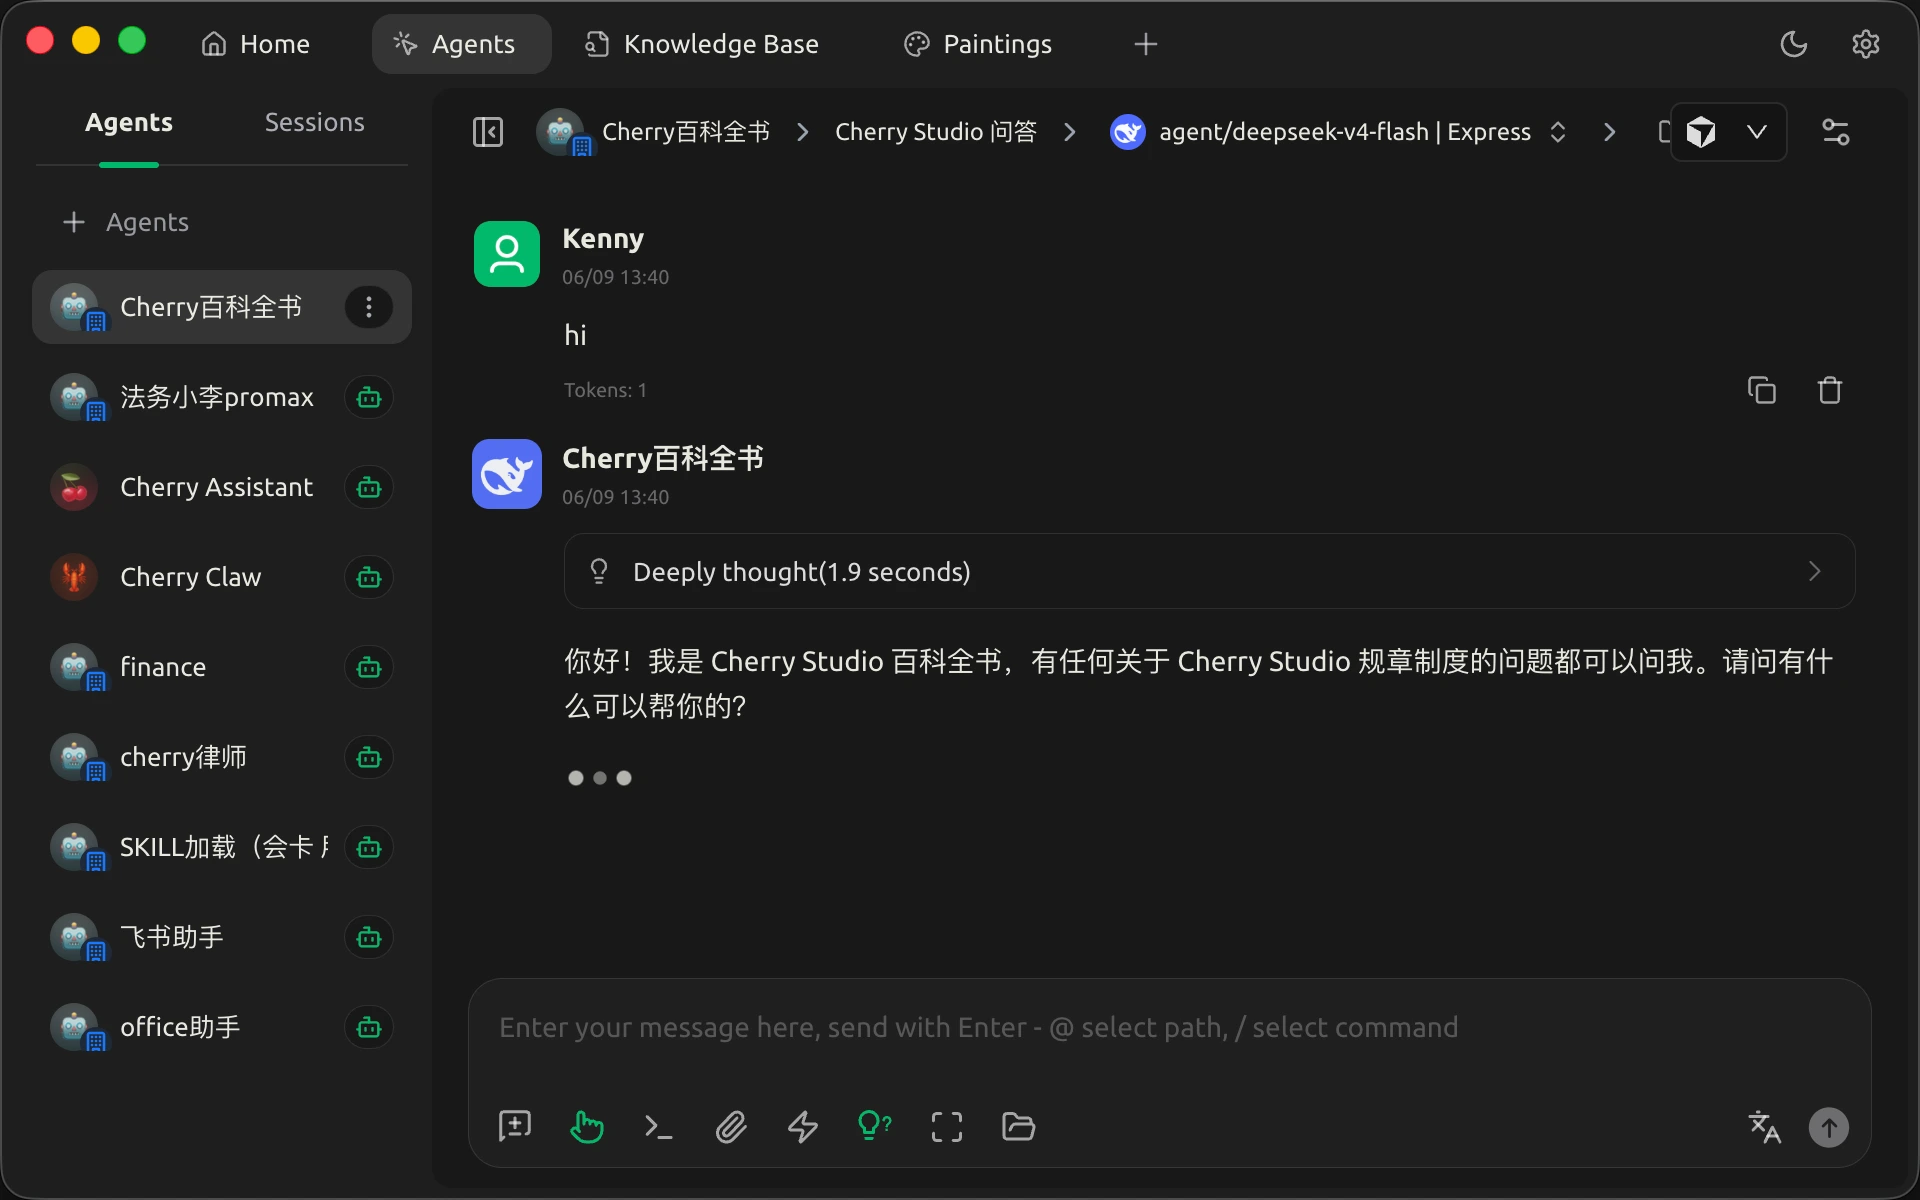
Cherry Studio Enterprise comes with AI model services pre-configured (DeepSeek, Zhipu GLM, Kimi, MiniMax, Qwen, etc.) — no need to manually add providers or API keys. Start chatting right after signing in.
Need to deploy Cherry Studio Enterprise on your own infrastructure? See the self-hosted deployment guide (opens in a new window) for deployment options and configuration steps.
Product introduction
Cherry Studio Enterprise — a cloud-hosted AI workspace that gives teams unified model management, knowledge bases, access control, and security compliance.
Admin console overview
The Cherry Studio Admin Console is a centralized management platform designed for enterprise users, offering comprehensive AI service management, user permission control, and resource configuration.